|
People who are connected with Photo editing often ask about masking. Let’s cover this important topic today. You are about to know how important is masking in Photoshop. 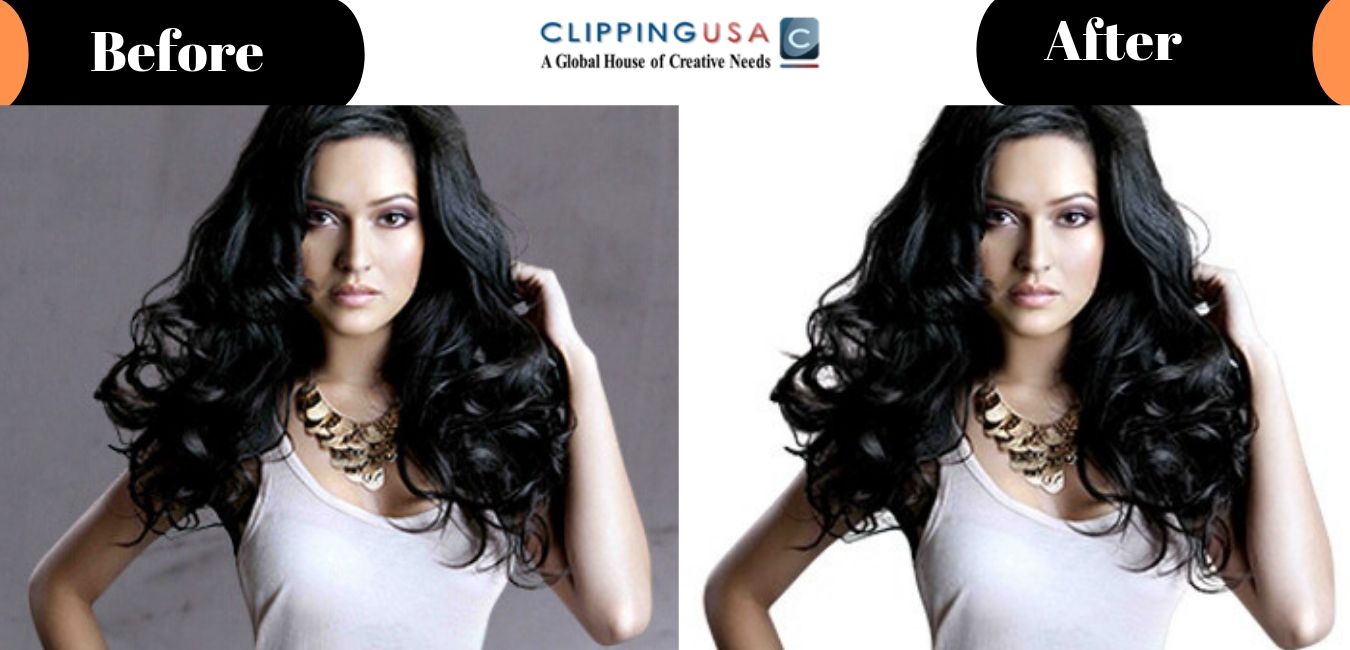 Whether you are a photographer or Model, you should not miss this article. Before knowing about the importance, at first you should know exactly what it is. Masking can be described as the procedure of making any specific parts visible or Cover without deleting the object. So, this is a non-destructive way of altering. At the same time you have the ability to replace, remove or re-customize background and the object. So, it can also be described as the replacement of the clipping path. We know the limitation of clipping path procedure. It can give a proper result for hard edges. But when it comes to soft edges like hair, fur, Wool clipping path failed to provide nice accuracy. Masking in Photoshop is the solution in this case. Without applying masking you cannot get the accuracy for soft edges. Now, you may think that why you are not using the eraser tool instead of that?
Eraser tool can also perform the same action then why you are not going with that instead? The main reason is destructiveness. Eraser can also erase the thing but it cannot reveal and hide at the same time. When you are looking for skimpy and thumping any portion of an image in a non-destructive way, Photoshop masking comes into play. It is not only effective but also mandatory for complex soft edges. Another vital factor that I mentioned above is non-damaging way. It is also essential. All of the information of Pixels that you erase is always available. So, You have the option to go back in any stage and bring back any erased portion. Therefore, the importance of masking in Photoshop is really vital. Let’s see at a glance the key point why masking is essential.
3 Comments
Who doesn’t know the importance of adding shadow in Photoshop? There are different situations and elements where we want to create shadow. Sometimes we want to add a shadow to image. Very often, we have to add shadow to text. It is an effective way to make any text more noticeable and eye-catching. Do you want to learn the process? Let’s know how to add shadow to text in Photoshop. At the beginning, take the text where you want to add shadow. Here I am creating a new text. To do this open Photoshop and goes to this option showing below: 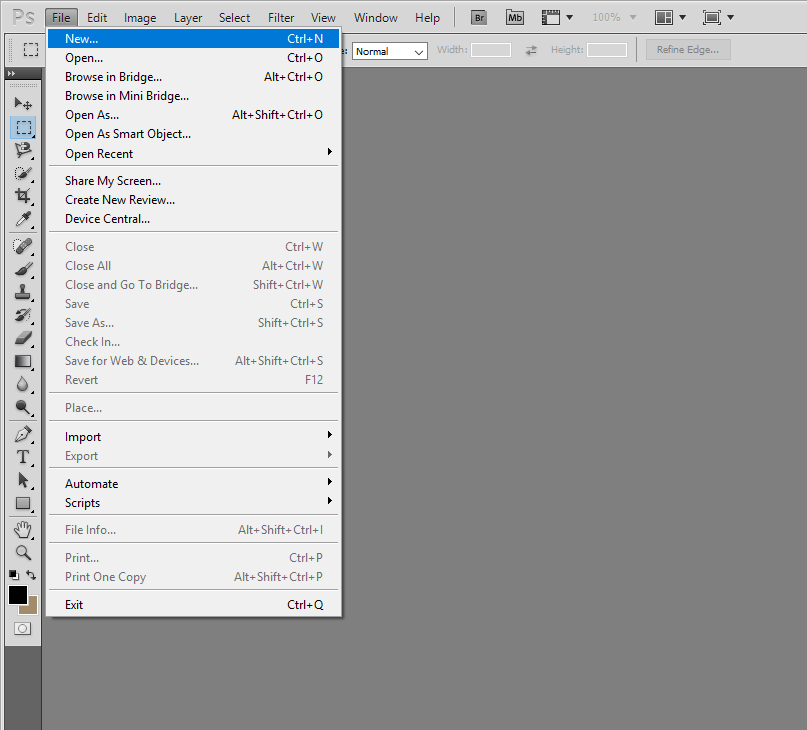 It will make a new white background. If you want to add text on your picture then you can go to open option and rest of the procedure are the same. I am setting my background to this value. 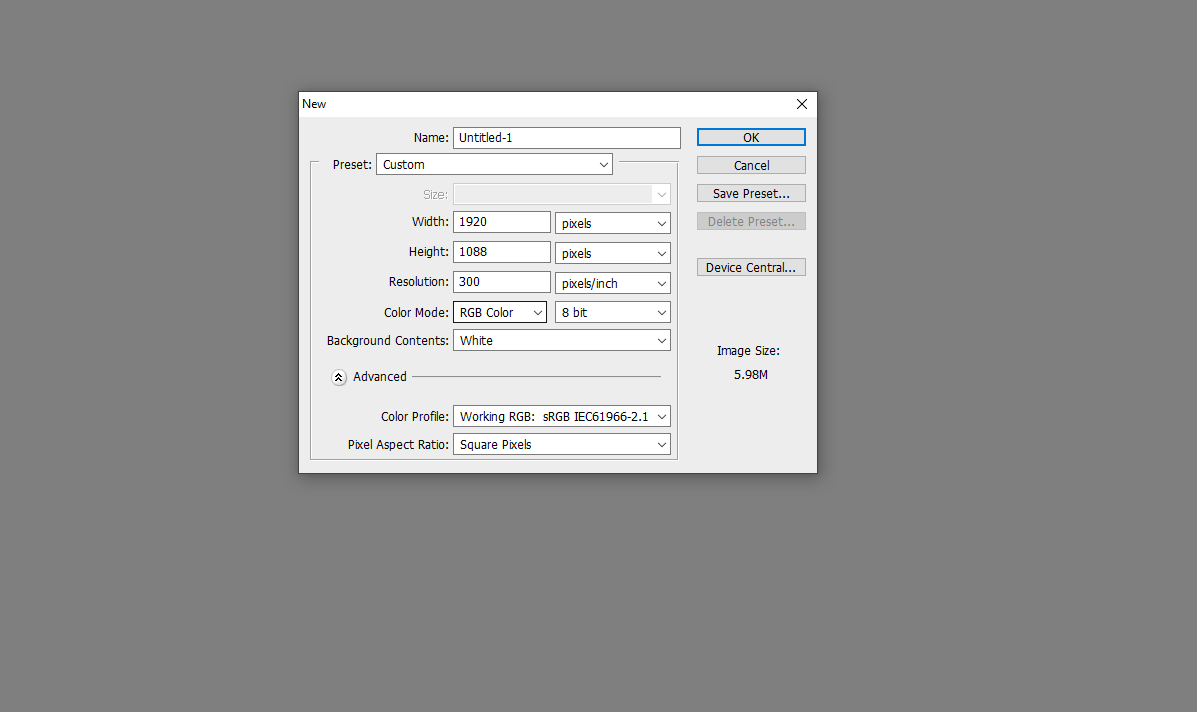 After this step, now it’s time to create the text. To do so go to this option from the left bar: 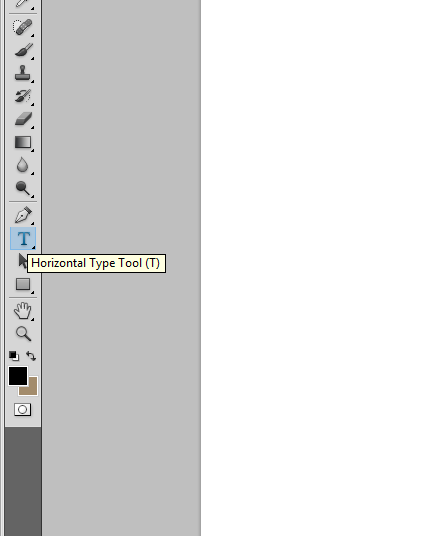 Then create the text as you preferred I am writing Clipping USA here. 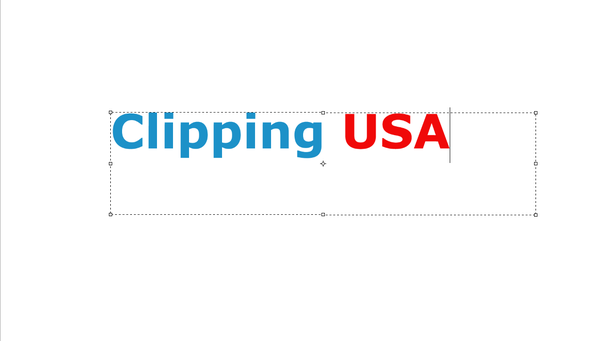 Later on, you can transform the text according to your requirements like this. 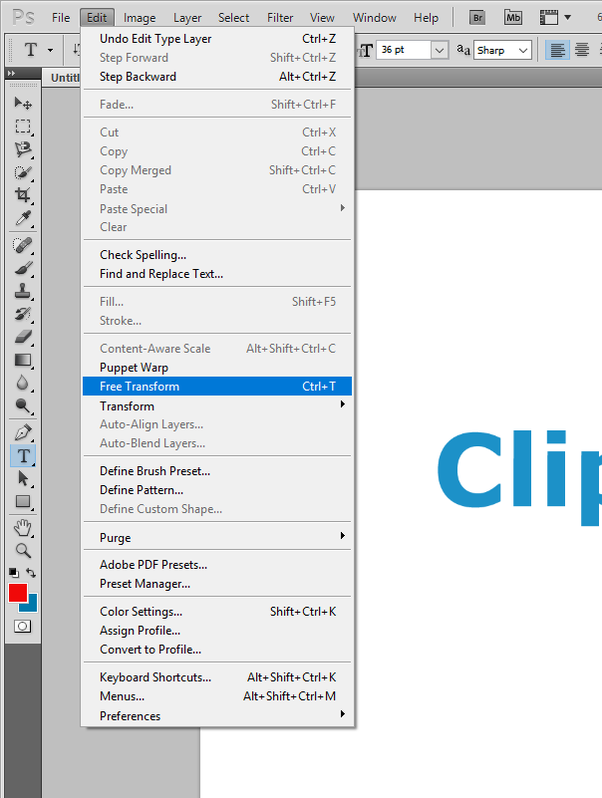 It will allow you to move the text freely. Let’s make the text a little more interesting by adding an overlay. To do this go the layer panel and pick blending option. 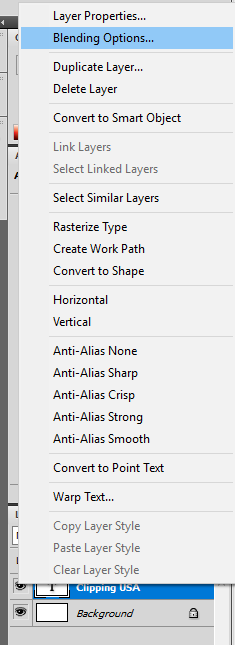 There will be lots of option but in the blending section you need to choose the gradient overlay from the below side and customize it according to your preference. I am customizing it in this way.  In later step, make a duplicate layer and for this action go to the background layer right click followed by choosing this. 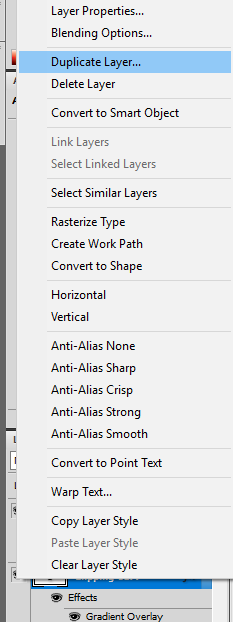 At this stage, you need to start the procedure of adding shadow. To do so, 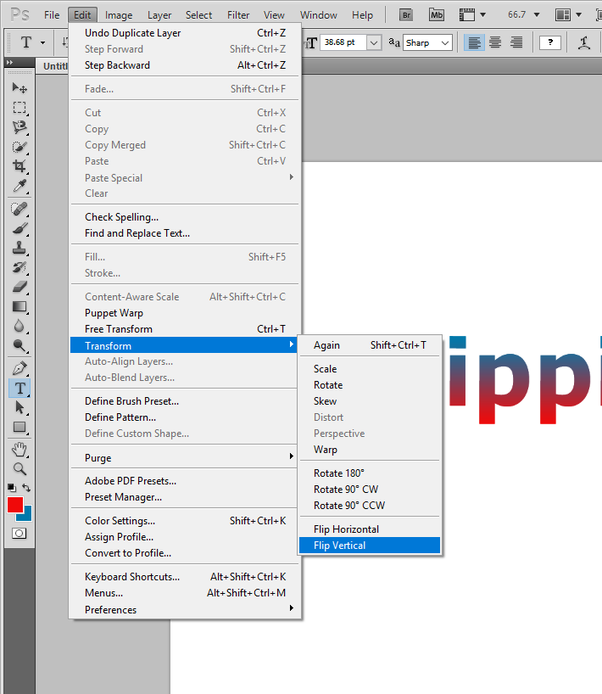 Transform the text vertically from the above option. But this is looking like a mirror reflection. Go to the gradient option once again and hit on the inverse option. 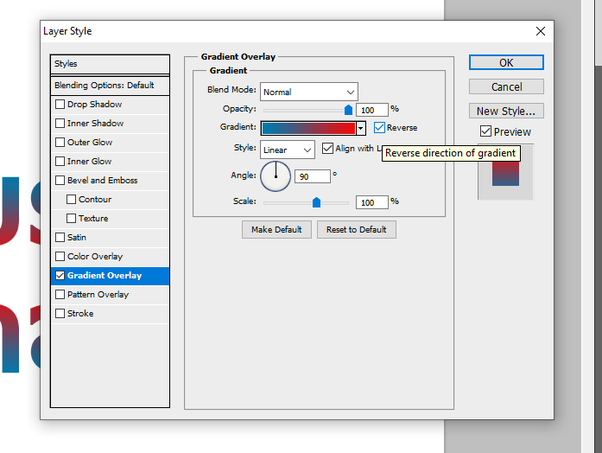 But that is not enough to look at the reflection like a shadow. Create mask of the newly created layer. 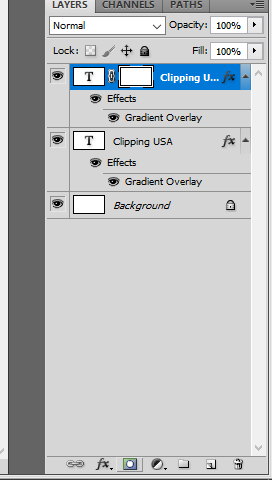 Next, go the gradient tool option from the left bar. Then draw drag the mouse upper side and you will get a shadow effect. 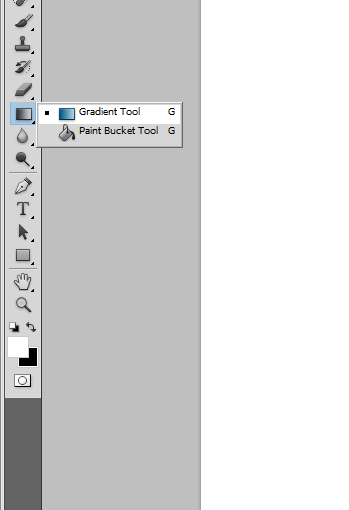  Repeat this process a few times to get the shadow as you expected.  This was the easiest way to add shadow to text in Photoshop.
Hello everyone, do you have interests in background removing? People who are connected with the online business, product photography Modeling, Print Media know the prominence of background removing from the image very well. But there are some crucial things to follow and not to follow about background remove; only a few people know. After reading this post, you can also know these secrete tips and tricks that nobody shared with you before. Let’s proceed forward. 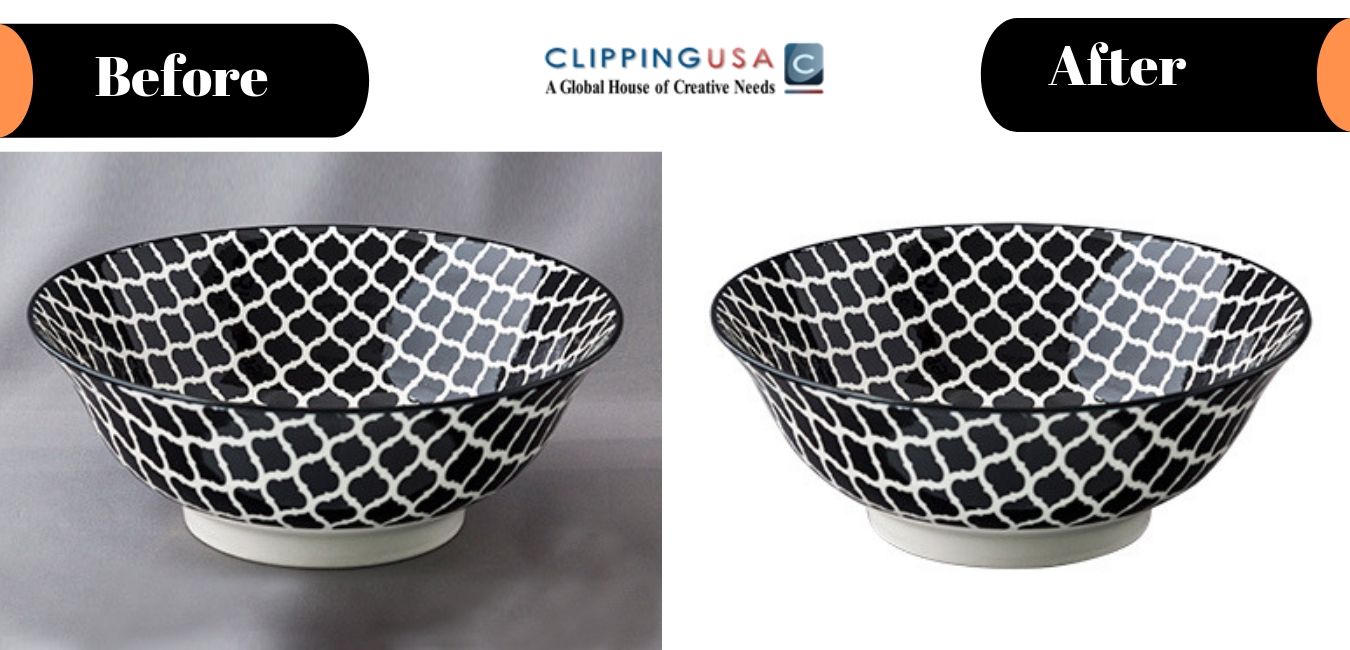 Things to Follow: Using the Magic Wand tool: This is the easiest tool to make a selection. If you are a beginner and struggling with the selection procedure this is the tool that you can start with. When you are working with a simple object like books, Bottle, fruits, the pen you can use this tool to make your selection in the fastest way. When the tool is to select an object, one should switch the tool. But which tool to select after switching? Using the Magnetic lasso tool: When the object is in a complex shape, one can switch into this tool. But using this tool might prove to be tough for beginners. But after mastering this tools thing will be a lot easier. Different shapes are available also in Lasso tools like the Polygonal Lasso tool and Rectangle lasso tool. For these types of shapes using these types of lasso tool will make your selection accurate with lower effort. Zoom in the Picture: Zoom in the picture into 300 PX will make your background remove procedure more accurate while selecting. It will make the selection procedure longer but it will bring accuracy. Accuracy is worth some times. Utilize quick selection tool: If you found it difficult to use the magnetic lasso tool and struggling for accuracy, you can go for quick selection tool. In reality, it is the tool that people use most for background remove purpose. But don’t go for make selection option just after the first selection you made. Zoom in the picture and inspect the selection. Where correction is needed, fix those areas with a smaller size brush. Things not to follow:
Automatic tools: Some tools are available for providing background remove in a few seconds. At the time, you are going to use them in commercial purpose, just forget about them. If you are looking for good quality, these apps are going to make you frustrated. Without manual work, it’s not possible to get a good result whatsoever. Hence, it’s better to avoid those. Don’t save in JPEG: If you are looking for a white background you can save the picture both in JPEG and PNG. But when you are considering for a transparent background, go for PNG format. Otherwise, you are not going to get your expected results. Transparency is unsupported in JPEG. Don’t start with an edited image: Quality matters a lot when you are going to use an image in business purpose. So, you should not make any compromise with the quality. Normally, images lose their quality after editing. It’s better to start background removing process with a raw image. It will provide you with better quality. Avoid Random Selection: To become a professional photo editor one has to avoid random selection. Follow a specific strategy while making a selection. Selecting randomly is not going to help you to become a pro. So, try to earn consistency. The layer mask is a sensitive part of image editing. It used to give a polishing touch to an image when it is about highlighting special parts. Many are confused about this technique, especially the beginners. In this tutorial, I am going to provide you with 7 tips about Photoshop masking that only a few people know. Here these are:  C: 99Designs 01. Paint on the Mask
When you are working on an image for masking, it’s very essential to hide and highlight portion carefully. In this case, one can set the colour to black and white by pressing D when painting on masks with the brush tool. For flipping between Colors simply Press X. That sounds easy and also effective. 02. Inspect a mask Do you want to view the layer mask replace of the image? Clicking layer Mask Thumbnail along with a pressing ALT will give you this option. It will show you both the option of Toggle View on and off. 03. Painting through Overlay Sometimes, edges become the resistance of working smoothly. To make your working method easy to change the brush blend mode into Overlay at the time of working on a mask in white and black. Then it will be easier for you to cope up with hard edges. 04. Adding a Full Mask Adding a full mask prove to be an effective technique. For this operation, press ALT along with click on the ADD Mask Icon from the Layer Board. Then a black mask will appear which hides the layer completely. To invert it you can also use the shortcut CTRL+I. 05. Refining For the improvement of the mask, refining is always a good option. If you want to gain control on the edge, select refine mask option from the mask thumbnail. Then set your preferred value depending on how much refining you want to do. 06. Unlinking Sometimes we feel the necessity to move the content or mask individually. Unlinking is the feature that can avail this option. To do this, go to layer board and press on the link icon stuck between the mask and the layer. Then one can deal with mask and content self-sufficiently. 07. Copying the Mask For a beginner copying, the mask can be a tough call too. The easiest way to copy the layer mask is dragging the layer mask length ways with ALT. For loading, any selection hit on the thumbnail along with CTRL. Image editing has become a compulsory term for photography nowadays. Have you ever wondered about it ever? Are you a photographer and thinking about why you should edit your photo? Is it possible to survive in photography without photo editing? Let’s find out the details.  To Remove Unexpected Element
Removing the unexpected element is one of the key reasons behind Photo editing. It’s natural that there can be some unexpected elements in your photo. It is not a smart decision to keep repeating shot. That’s also not possible in every case. With the help of photo editing one can easily remove his unwanted elements from his photo. For Changing Color Sometimes, you need to change the color of your photo. Suppose, you have to change the color of your object or you want to make it a little bright. Image editing is the only option here. Bringing Variety To become successful in photography you obviously need variety. Photo editing can bring variety in your photo. With image editing you can bring lots of changes in your photo. If you don’t do photo altering work, there is no option in your hand without taking another photo. Without editing you can’t do anything with your photo. For Making Correction When you capture your photo, there may be some mistakes. Image editing gives you the option to correct your mistakes. Such as you want to remove your background or change the background, whatever you want to do there is no way without photo editing. Without photo editing you can’t make corrections in your photo. To Set Right Color Tone Color tone is an important element of any kind of photography. If you want to be a professional photographer, the color tone of your photo must have to be perfect. Without image editing, set the color tone right is really a tough call. Image editing give you the option of to make right color combination in your photo. Change any Specific Parts Suppose, after you capture a photo there are some unexpected object in your photo. Now, you want to remove those parts from your photo. What would you do? There is no option in your hand without editing your photo. Like I said before keep repeating shot is a good option to approach. Capturing a new shot doesn’t ensure that you are going to get the perfect shot. It is possible that there will be something that you don’t like. So, keep repeating shot is not a smart option at all. To make it Attractive This is the ultimate reason behind editing a photo. Normal photo without editing doesn’t look so attractive compare to edited image. Camera is not powerful enough to capture the genuine scene. That’s why it is necessary to do some post processing work. Without editing image looks incomplete. Above all, you can’t bring a professional look in your photo without editing. Editing is must needed to become a successful photographer. Otherwise, it’s tough to do something big with the original photo. Choosing the best E-commerce image editing company prove to be tough sometimes. Picking the right one is a bit tricky though. But after reading this article, you can easily find out which one will be the best choice for you.  Let’s know in detail which company will be the best option when it is about photo editing. #1: Fix the photo It is one of the best Image editing companies. They are offering their service since 2003. So, they have lots of experience in this field. They are mainly popular for their retouching service. They provide some others service too. Let’s see which types of service they are offering. They are offering: 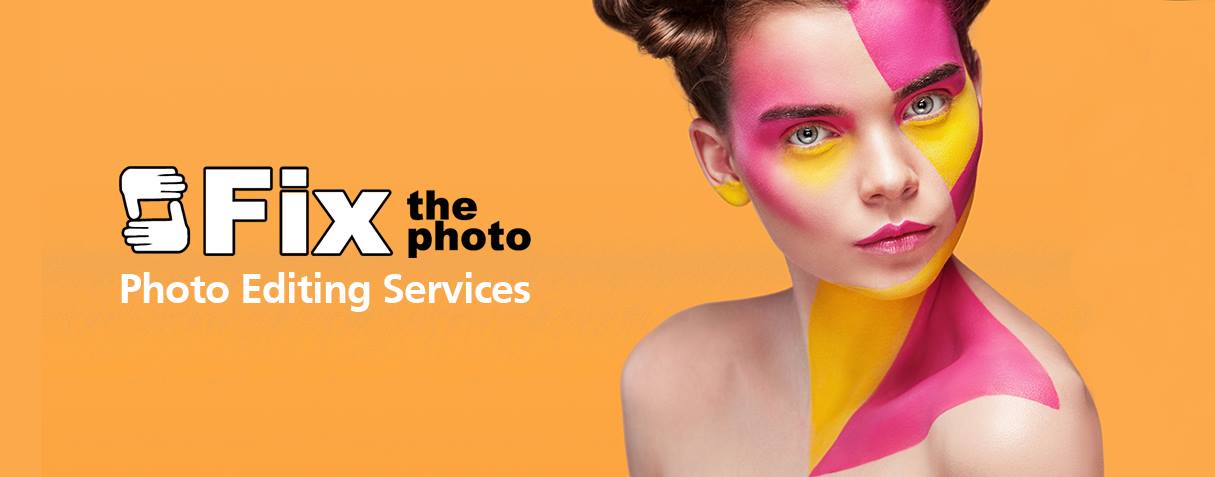
If you don’t have any problem with budget you can choose them as their price is a bit high. If you are looking for a little more affordable budget you should move to the next one. #2: Clipping USA If you are searching for standard quality image editing service in affordable price, ClippingUSA is totally unbeatable. It is especially popular for clipping path and background removing service. If you want to edit your E-commerce product photo perhaps nobody can provide better service than this. Let me show you the services that they are offering: 
Let’s move to the next. #3: Foto Figo Foto Figo is another standard E-commerce Photo editing company. They are capturing a wide range of image editing field. They are mainly offering six types of image editing service. 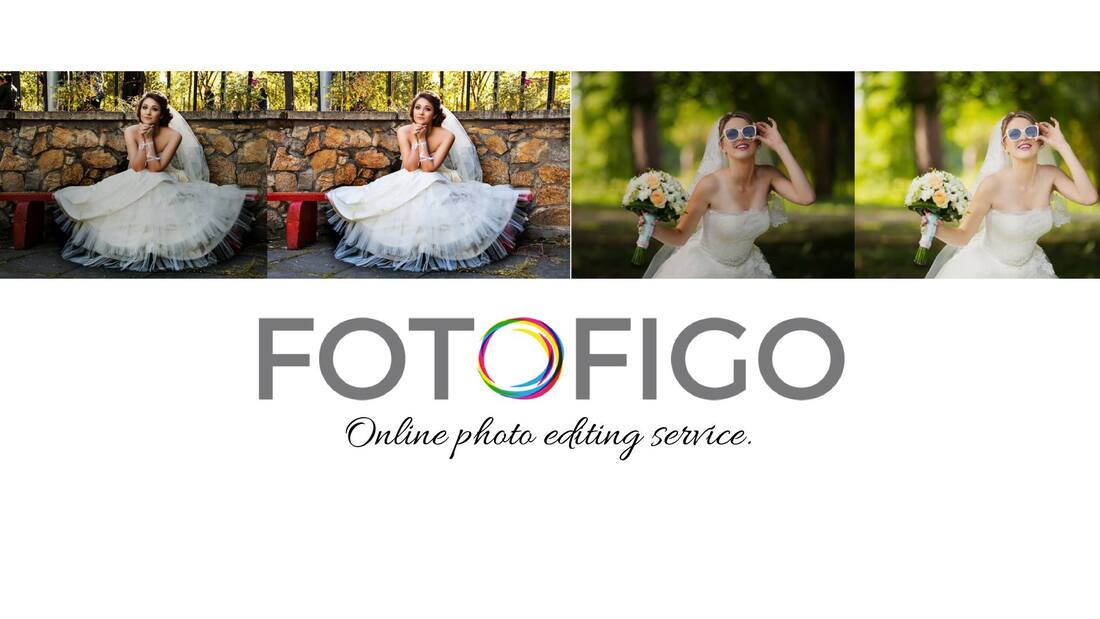 Allow me to show you those individually:
It is the time to move to the number 4.  This is another professional quality E-commerce image editing service provider. Basically, they are offering three types of image editing service those are:
If you are looking for looking for retouching, you can try this company. They also provide vector photo in their advance service package. But it will charge you 5 credits per image. That means you have to count almost 60 dollar per image. So, you need to have a high budget if you want to choose them.  The last one in our list is Foto Designers. They have divided their services into six categories. Allow me to inform you those categories:
That’s all about world top 5 E-commerce Image editing company. Now, you can judge easily which one meets your requirement and then take your decision.  Reflection shadow is a successful method to make any object intriguing. That is the reason individuals are utilizing this method in business field. Cause, it is imperative to show item in intriguing manner. The all the more fascinating look it gives the more advantageous for you. By perusing this article you can adapt such 5 things that you ought to clearly think about reflection photography. How about we make plunge.
Reveal the Bright Parts. Making reflection shadow is a dubious procedure. You likewise should be minimal dubious while taking photos. One needs to play with light and shadow. For this reason, ensure that you are uncovering the brightest parts of your object. It will give you right exposure. That additionally gives a high tone photograph that is great for making shadow. You have to rehearse a ton to take control on it appropriately. Placing the object It is vital to put the object appropriately, when it is about reflection shadow. How much frames it is capturing and where you are putting the object that is going to assume a major job to give you excellent reflection shadow. When you are taking pictures of items like Watch, shoes, Jewelries attempt to put them directly amidst the image. Keep a good separation between your object and camera. Right Opacity of the Shadow This is a significant principle to pursue. Clearly, opacity of the shadow ought to be not exactly the first object. Once in a while, by post preparing work we make the shadow so profound that it turns out to be difficult to figure which one is shadow! That is a dump approach to approach. You ought not do senseless missteps like this. In reality, there is no consistent level of opacity that you can utilize every one of the occasions. Along these lines, don't pick a specific opacity for each kind of object. It is about variety. Attempt to ace its craft. The things that can help you most now are your eyes. Utilize your representation capacity to pick the correct opacity that look natural. Avoid Mirroring In novice organize, numerous individuals do this error. They simply mirror the image vertically. This is absolutely off-base. In the event that someone stands to do these kinds of mix-up in business field, his business will be destroyed. Reflection shadow and mirroring a picture are two unique things. One needs to comprehend the distinction between them. Symmetry Symmetry is going to assume a major job in reflection shadow. Whatever you do with your picture doesn't make a difference, you can't adjust symmetry. In this way, you have to put uncommon focus on this. At first, you need to tail somebody specialists and inspect their work. Inspect profoundly how they are making the correct symmetry. When you ace the craftsmanship, you are prepared to go pal. Expectation this was helpful post for you. Practice that 5 point in your photograph altering and make your reflection shadow reasonable. |
 RSS Feed
